

Unlock Google's Hidden Powers: Calculator, Unit, and Currency Converter Hacks
Discover how to use Google as a free calculator, unit converter, and currency tool. Quick tips to save time on everyday math and conversions.
Backing up your MacBook is one of the most important tasks to keep your data safe, but many users don’t realize how simple the process can be. Whether it’s personal photos, work files, or important documents, having a backup can save you from the headache of data loss. In this post, we'll walk you through a few straightforward ways to back up your MacBook using built-in tools like iCloud, as well as external hard drives and third-party cloud services.
No matter your level of tech experience, by the end of this guide, you'll have a solid plan for protecting your data.
For Mac users, iCloud is a convenient, built-in backup solution that integrates directly with macOS. Here’s how you can back up your MacBook using iCloud.
Open System Settings by clicking the Apple logo in the top-left corner and selecting "System Settings."
Click on your Apple ID at the top of the sidebar and select iCloud.
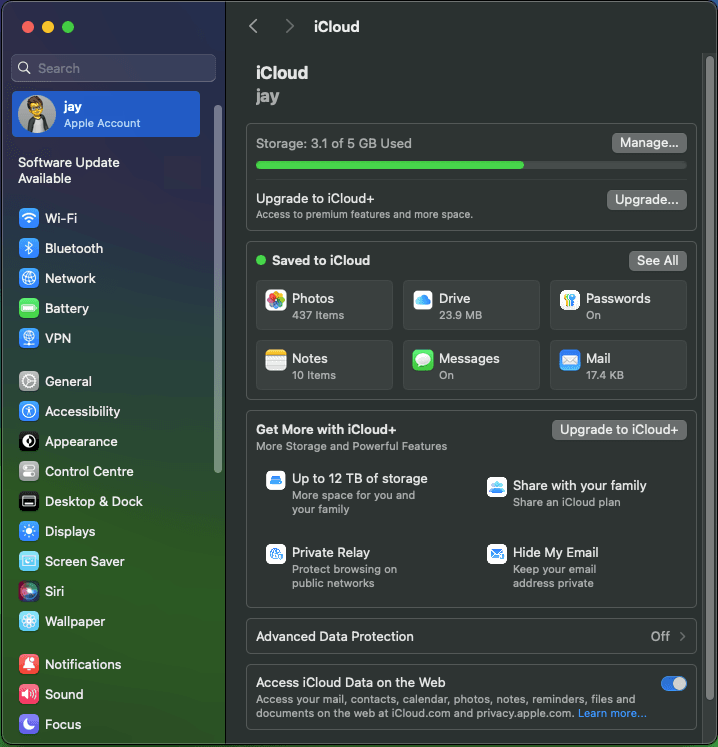
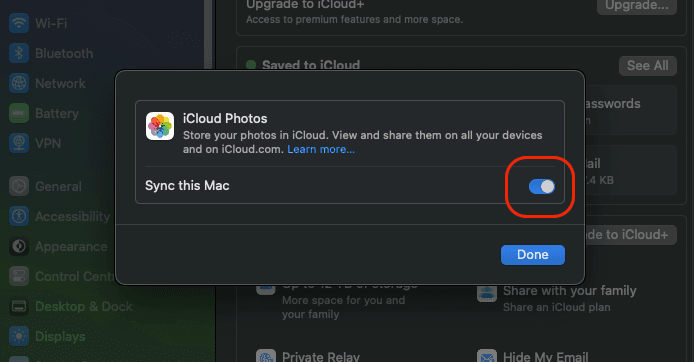
Toggle on the apps you want to back up, such as Photos, Documents, and Desktop.
Make sure to enable iCloud Drive to store files from your desktop and documents. Click on Drive next to Photos.
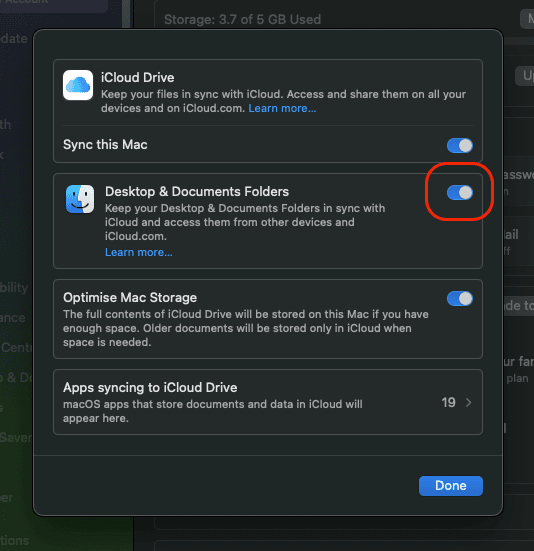
Once set up, iCloud automatically syncs and backs up your selected data to the cloud.
Pros
Cons
If you're looking for a physical backup solution, an external hard drive or SSD (Solid State Drive) is a great choice. Apple’s Time Machine makes this process easy and automated.
Connect an external hard drive or SSD to your MacBook via USB or Thunderbolt.
Open System Settings > General > Time Machine.
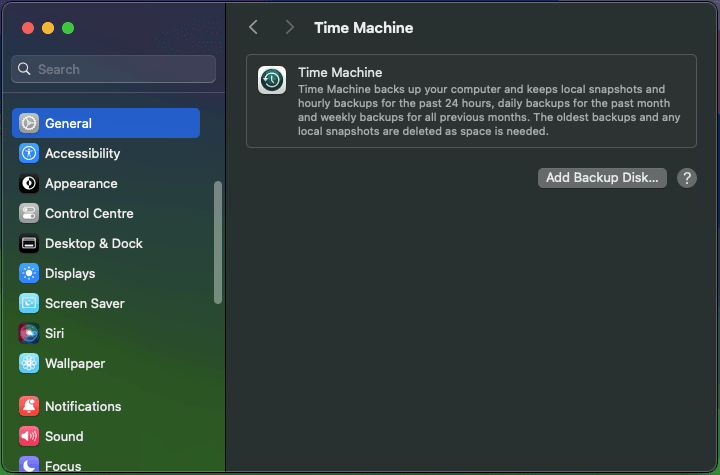
Select Add Backup Disk and choose the connected drive.

Time Machine will automatically start creating hourly, daily, and weekly backups, depending on the available space on your drive.
Pros
Cons
For users who want a more robust cloud backup solution beyond iCloud, there are several third-party services that provide additional storage and features.
Here are three major options
A popular cloud backup service known for its simplicity and affordability.
Steps to Use Backblaze
Pros: Unlimited storage, automatic backups, easy setup.
Cons: Does not back up system or application files.
Buy at Backblaze→Another well-known service, Carbonite offers comprehensive cloud backups with different plan options.
Steps to Use Carbonite
Pros: Automatic backup of most file types, great customer support.
Cons: Higher pricing tiers compared to competitors.
Buy at Carbonite→iDrive provides cloud backup with a focus on multiple devices, making it perfect if you want to back up both your MacBook and other devices.

Steps to Use iDrive
Pros: Backup multiple devices, file versioning feature.
Cons: Free plan has limited storage.
Buy at iDrive→While services like Google Drive, Dropbox, OneDrive, and Zoho Sync are fantastic for storing and syncing specific files, they aren’t designed for full system backups.
Here is the difference
If you’re already using a service like Google Drive, you can still manually back up important files, but for full protection, we recommend setting up a more comprehensive backup solution.
With this comprehensive guide, you’re now well-equipped to choose the best backup solution for your MacBook, ensuring your data is safe no matter what happens.


