

Unlock Google's Hidden Powers: Calculator, Unit, and Currency Converter Hacks
Discover how to use Google as a free calculator, unit converter, and currency tool. Quick tips to save time on everyday math and conversions.
For Mac users who need to run Windows applications or systems without relying on Boot Camp, several effective alternatives exist. Boot Camp, while useful for dual-booting Windows natively on Intel-based Macs, requires partitioning your drive and restarting your system to switch operating systems. Fortunately, modern virtualization and remote access solutions allow you to run Windows seamlessly alongside macOS or access Windows environments remotely. This article explores multiple methods, including Parallels Desktop, VMware Fusion (formerly associated with Bombardier in some contexts), and remote access options, to help you choose the best approach for your needs.
Parallels Desktop is a leading virtualization software that allows you to run Windows on a Mac without rebooting. It’s officially supported for running Windows 11 on both Intel and Apple Silicon (M1/M2/M3) Macs, making it a versatile choice. Parallels is particularly praised for its Coherence Mode, which lets Windows apps appear as if they’re running natively on macOS.
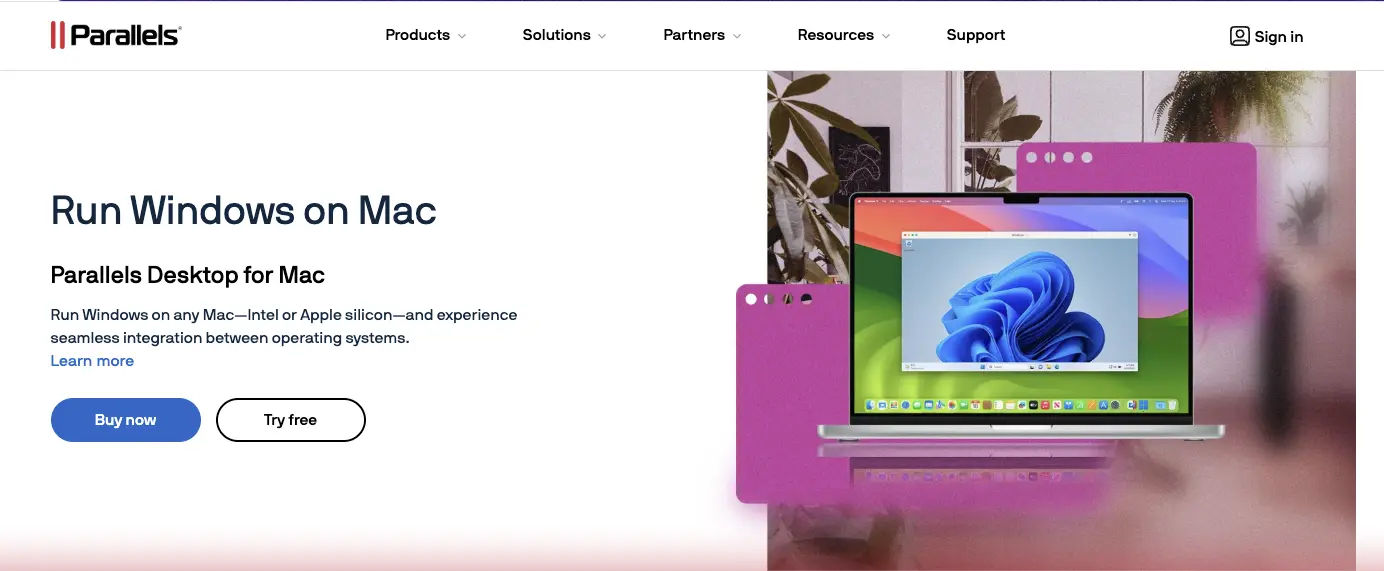
Download and Install Parallels Desktop: Visit the Parallels website and download the latest version. A free trial is available, but the full version requires a purchase.
Install Windows: After installing Parallels, launch the app. You’ll be prompted to install Windows. You can use a Windows ISO file (downloadable from Microsoft’s website) or purchase a license through Parallels.
Configure the Virtual Machine (VM): Adjust settings like RAM and CPU allocation based on your Mac’s specifications. For optimal performance, allocate at least 4GB of RAM and 2 CPU cores for Windows.
Run Windows: Once installed, Windows runs in a virtual machine. Use Coherence Mode to integrate Windows apps into your macOS desktop or run Windows in full-screen mode.
Install Parallels Tools: This enhances performance, enabling features like shared folders and clipboard syncing between macOS and Windows.
Note: Before setting up virtualization software, it’s wise to back up your MacBook to protect your data in case of configuration issues.
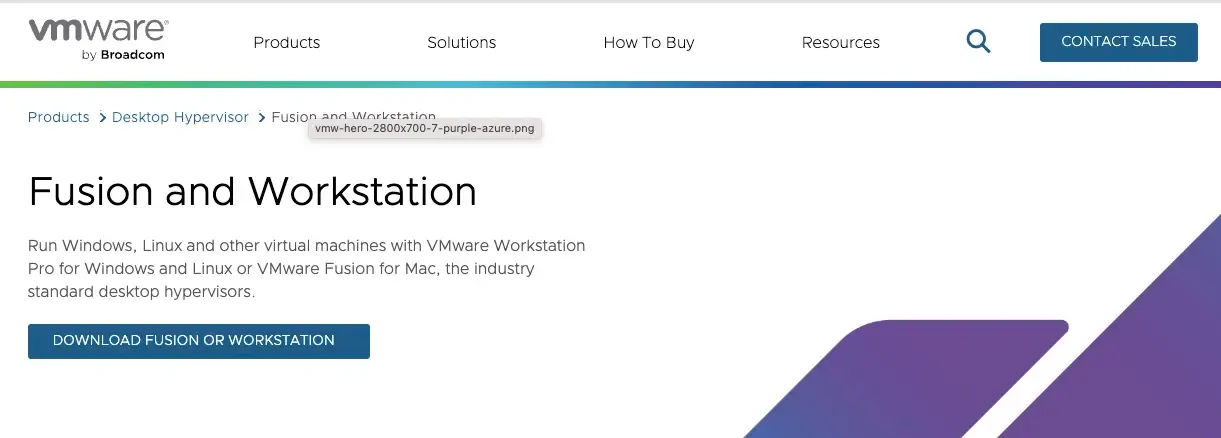
VMware Fusion, now offered for free for personal use by Broadcom, is another powerful virtualization tool. It supports running Windows 11 on Apple Silicon Macs with GPU acceleration, making it a cost-effective alternative to Parallels. While sometimes referenced in contexts like Bombardier’s IT infrastructure, VMware Fusion is a standalone product ideal for individual users.
Run Windows: Start the VM to access Windows alongside macOS.
If you don’t need a full Windows installation on your Mac, remote access solutions allow you to use Windows applications hosted on another machine or cloud service. This approach minimizes local resource usage and is ideal for occasional Windows app usage.
Microsoft Remote Desktop lets you connect to a Windows PC from your Mac over a network or the internet.
Pros:
Cons:
Cloud services like Microsoft Azure Virtual Desktop provide access to a Windows environment hosted in the cloud.
Pros:
Cons:
Tools like TeamViewer or AnyDesk allow you to control a Windows PC remotely from your Mac. For a detailed comparison, check out AnyDesk vs. TeamViewer to choose the best tool for your needs.
Pros:
Cons:
Running Windows on a Mac without Boot Camp is not only possible but also highly flexible with options like Parallels Desktop, VMware Fusion, UTM, and remote access tools. Each method caters to different needs, from seamless virtualization to cost-free solutions and remote access for minimal local setup. Evaluate your requirements—such as performance, cost, and frequency of use.


